Testing
When you have finished, press play. You should see something similar to the following:
If your program looks similar this, then you have successfully completed this step! Move on to the next section.
Gate Check #1 - Initial Functionality
Go Back to the Assignment Description
Congratulations! You now have randomly generated terrain. The next thing we need to initialize is the rocket.
To do this, we are going to follow the same general strategy we used to create the terrain. Specifically, we are going to:
Compared to the terrain, the variables needed for the rocket are fairly straightforward. Let's see if you can figure out what pieces of information we need variables for.
Same as before, we need to actually assign values to our rocket variables. Go to the initialize_rocket function and delete the print statement. Then write code to assign them values, using the logic design below as a guide.
# This is a global variable
def initialize_rocket(generate_new_scenario):
    global

    1.  Set the rocket x coordinate so that it is in the middle of the ground
    2.  Set the rocket y coordinate so that the rocket rests on top of the ground
    3.  Set the rocket x velocity to 0.0
    4.  Set the rocket y velocity to 0.0
Note: When defining your x and y coordinates, you need to decide what the coordinate represents.
The final step is to actually draw the rocket. If you have been following all of the instructions to date, your draw_objects function should already call draw_rocket. Consequently, all you have to do is go into draw_rocket and write your code.
# This is a global variable
def draw_rocket():
    1.  Draw the rocket, using either pythonGraph.draw_image, or the other drawing functions.
There are many strategies that you can use to draw your rocket. For example, you can use pythonGraph's draw_image function to simply draw a picture of the rocket on the screen. This would let you draw the rocket using a paint program, and import it into your program. The sample code that we provide you gives you a simple rocket image that you can use (but I bet you can come up with something even better!).
Alternatively, you COULD use pythonGraph's drawing functions and create a rocket using circles, squares, etc. This approach is more difficult, but allows you to precisely control every pixel on the rocket (you can even do some cool animations, like running lights, etc).
Ultimately, there is no wrong answer. Regardless of what approach you pick, make sure make sure that your drawing code uses the (x, y) coordinate and the height/width variables you defined above. Otherwise, your rocket will not move when we animate it in the following Gate Check.
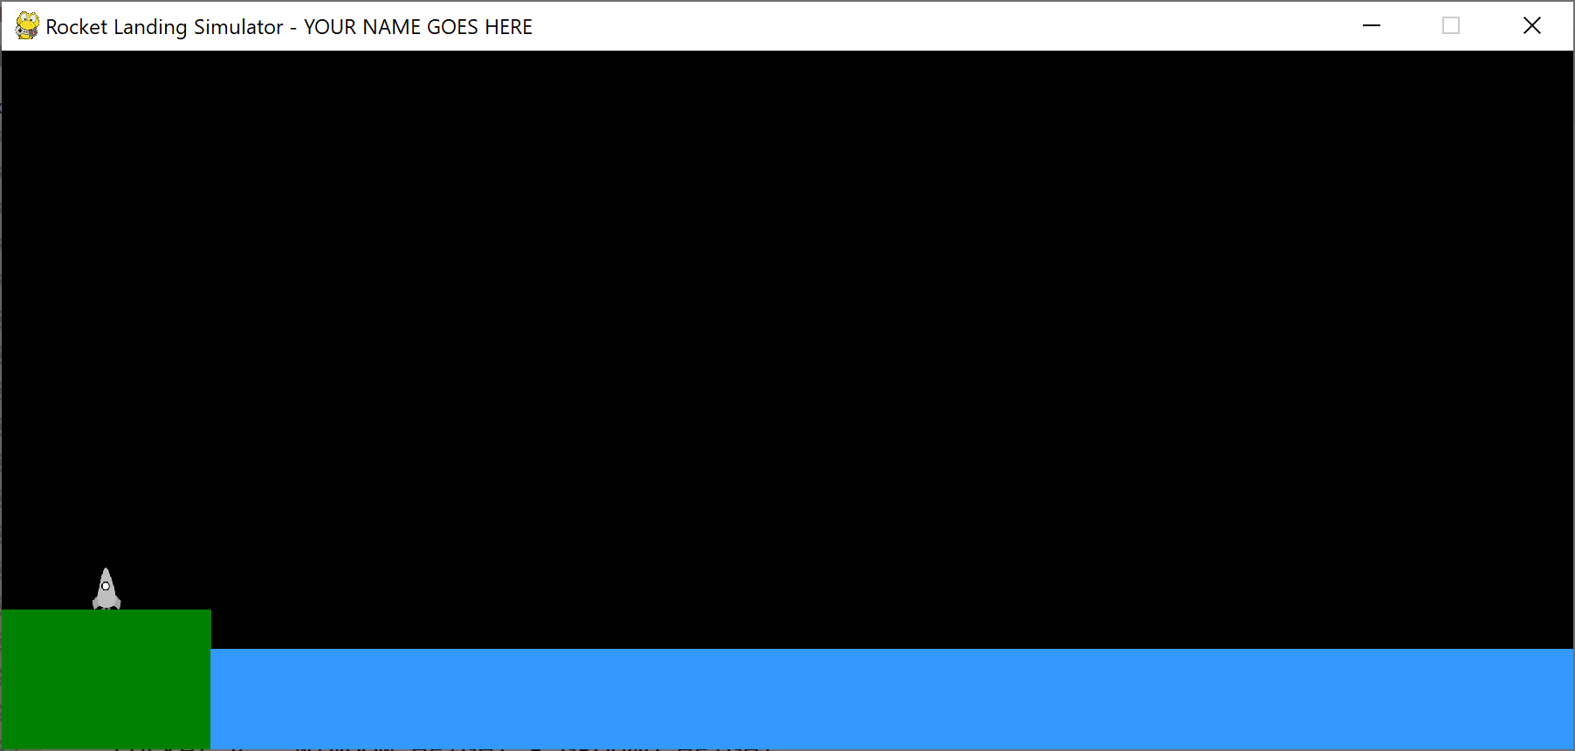
When you have finished, press play. You should see something similar to the following:
If your program looks similar this, then you have successfully completed this step! Move on to the next section.