Post-It Pandemonium - Instructor's Guide
version B7, Nov. 24, 2016

JL Popyack, Popyack@Drexel.edu


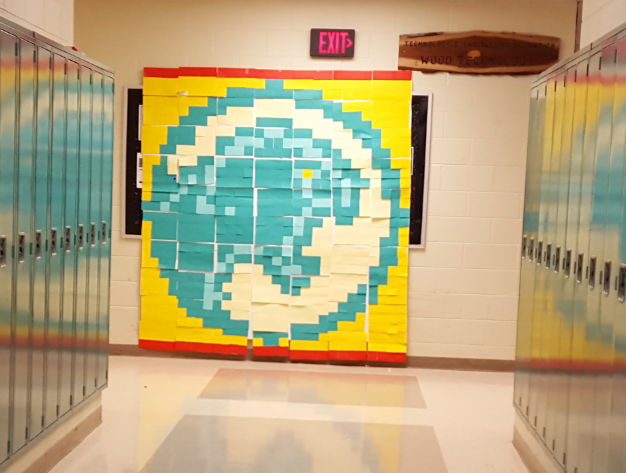
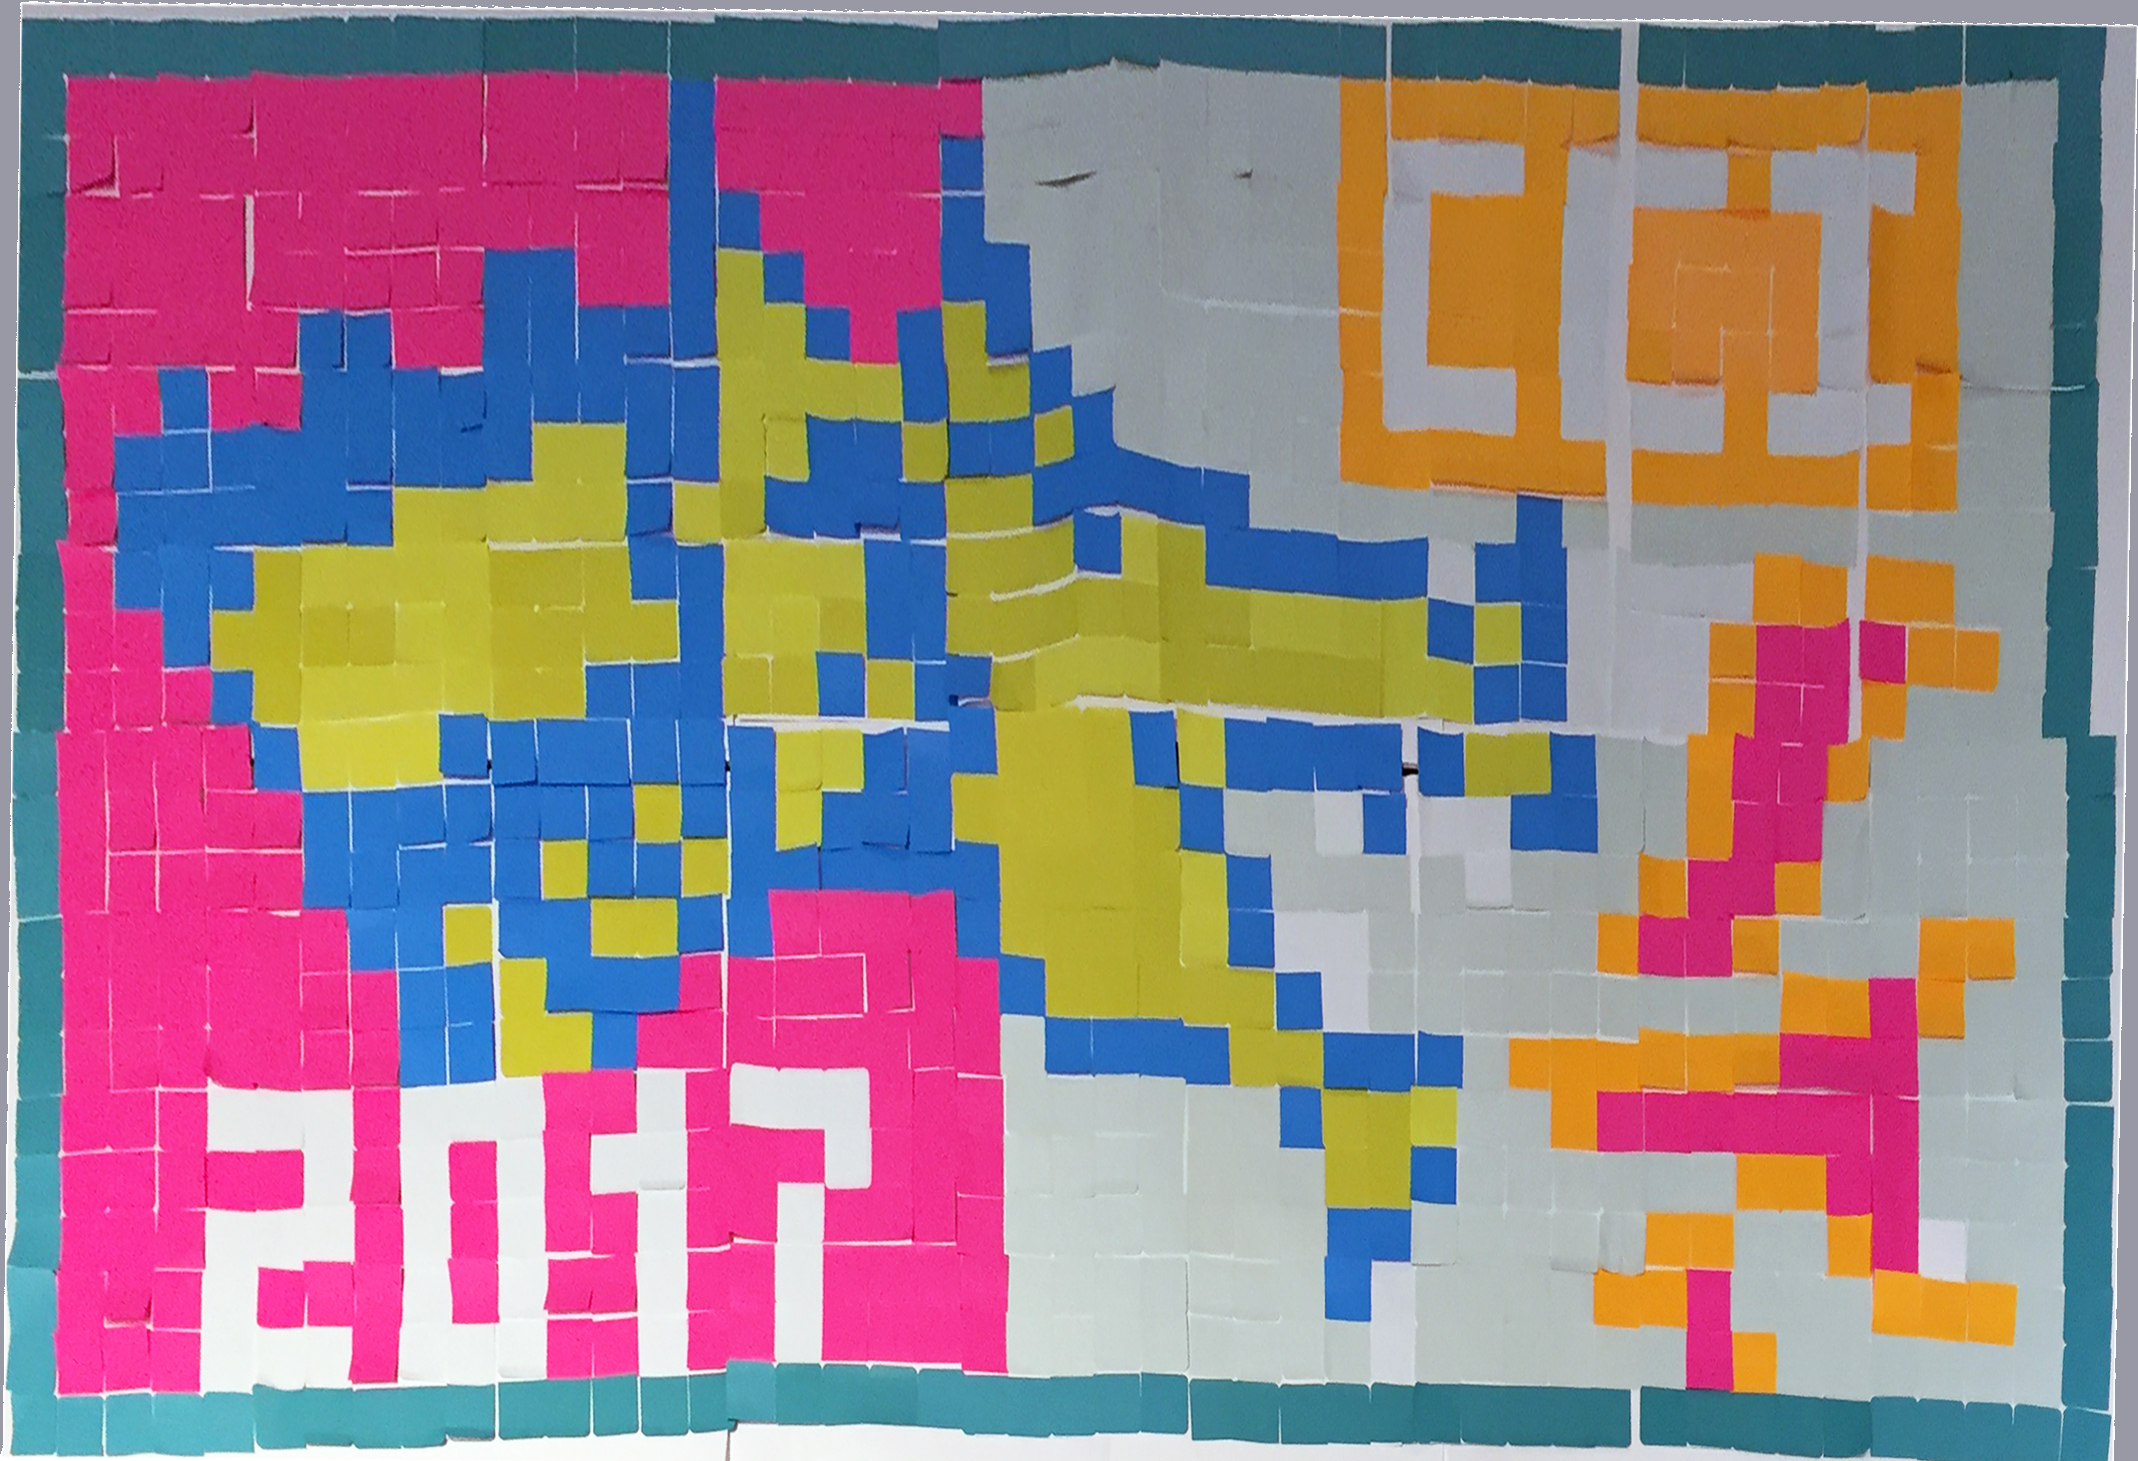
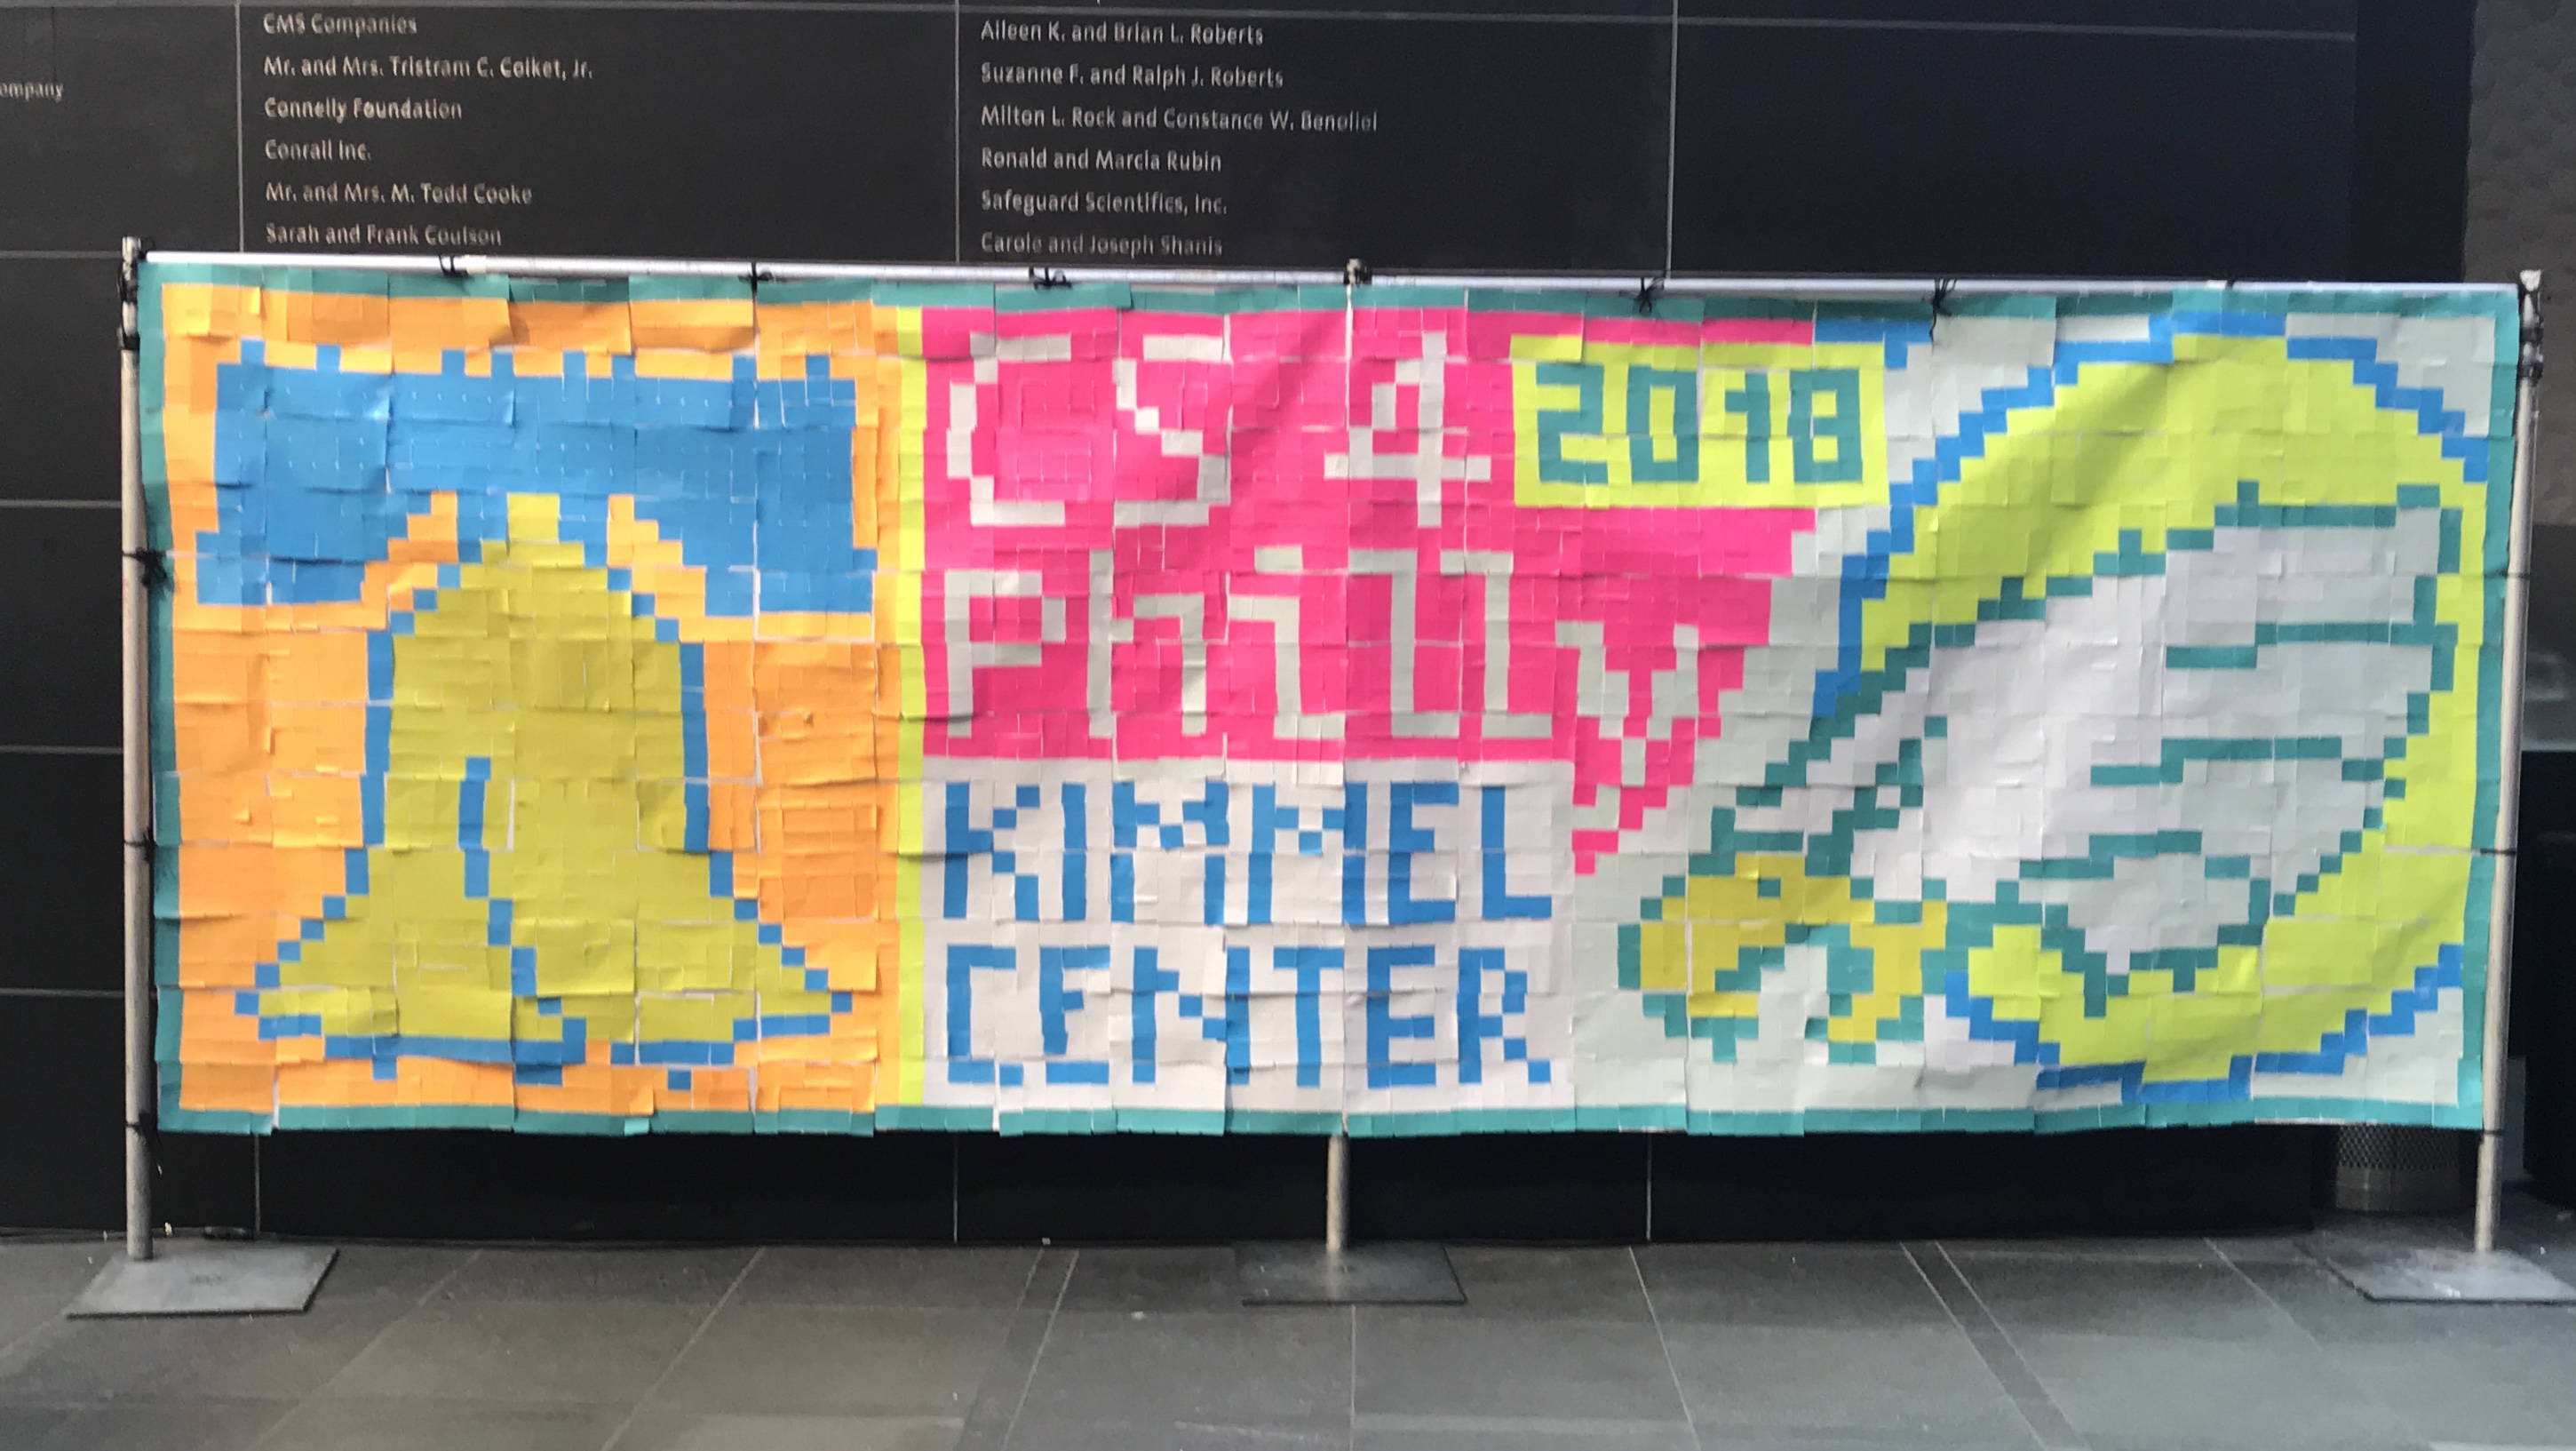
This explains how to create the materials needed for "Post-It Pandemonium" activities, in which a GIF image is re-created using Post-Its in place of pixels. The example below shows an original GIF image created for this purpose, and the resulting poster created with Post-Its, using the instruction sheets produced with our software.

RobotSpringboard logo in GIF format RobotSpringboard logo with Post-Its
Original GIF image GIF re-created with Post-Its


Software Used:

Instructions:

  1. Set up PILLOW:
    1. Be sure to have a working installation of Python 2.x installed. You will need this to use the PILLOW library.
    2. Install the PILLOW library. This should be as simple as opening up a command-level window (in your system, not in Python), and typing pip install Pillow . (Notice that "simple" does not imply "quick" - it will take some time to install. Also note that there are other ways to install - visit the PILLOW site (http://pillow.readthedocs.io/en/3.3.x/index.html) for complete details.)
  2. Create an image to represent:
    This is now the most tedious part of the process.
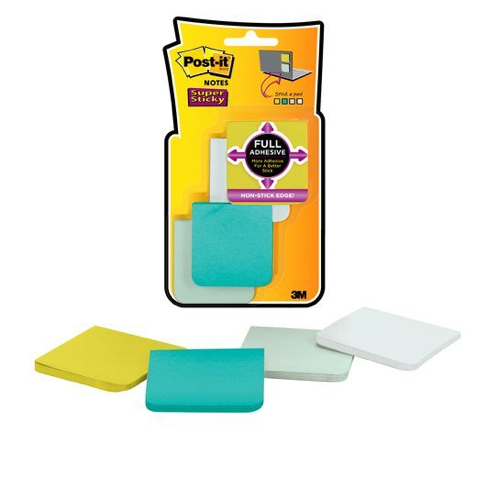
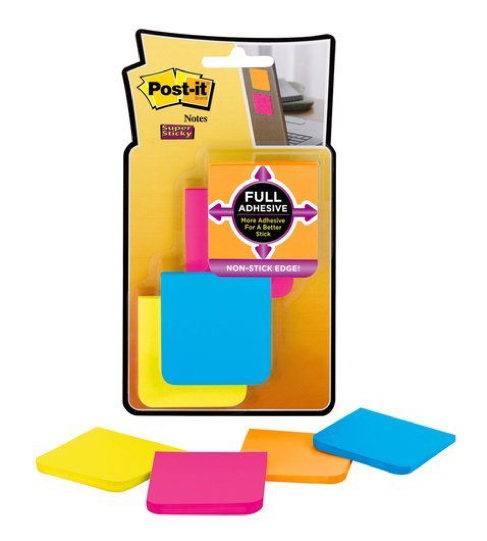
    1. You need to use a palette of colors that represent the colors of the Post-Its you will use. I have used the Post-it® Super Sticky Full Adhesive Notes, 2 in x 2 in size, Bora Bora Collection and Rio Collection, shown below:
      Bora Bora Collection
      Rio Collection
    2. Decide on the size for your picture. The Post-Its shown at the right are 2"×2", so an image that is 30×30 pixels will be rendered in Post-Its at 5'×5', and will have 900 pixels (Post-Its). This will be subdivided into 60 individual "pages" that measure 5 pixels across and 3 pixels down. (10"×6"). Keep in mind that the original image will be quite small - for instance, using a standard resolution of 72 pixels per inch, a 30×30 image is less than 1/2" square.
      Note:
      You may decide to use a medium other than Post-It notes, for instance construction paper or graph paper with colored pencils, crayons, markers, etc. If so, you need not be restricted to either 2" or 3" squares for pixels. However, you will need to decide on how many rows and columns of pixels are on a "page".
    3. If you decide to begin with an existing picture and simplify it to an appropriate size, you will probably need to do a lot of editing, with Photoshop, GIMP or other image-editing software. Use your software to resize the image to the appropriate size in pixels. If you are creating your image from scratch, create it with the desired dimensions. It is useful to keep a separate window open with your color palette available. Then view the image in an enlarged size (e.g., 800%)
    4. Convert the colors in your image to those in the palette. If there is a way to do this automatically, I have not discovered it. But in GIMP, you can select a range of colors, then use the eyedropper tool to select a single color to replace them all with. So if you begin with a picture that has many varying shades of orange, for instance, you can use the "magic wand" tool to select a particular orange pixel, and instruct it to select all similar colors within a given tolerance. If creating an image from scratch, use the eyedropper to choose the shade you want, then use the pencil or paint-bucket tools to draw with. (Note that if you use the eyedropper to select a tool from the image above, you should only do this once per color, because it is unlikely you will choose exactly the same (R,G,B) combination the next time, and you will end up with multiple colors in your image that stand for the same Post-It color. Note also that it is difficult to produce the colors exactly in the GIF image exactly as they will appear in the finished product.)
    5. Be sure to save your image in GIF format.
  3. Process the image:
    1. Prepare to run the Python program Post-It_Posterizer.py . This program is configured to produce pages with 3 rows and 5 columns of Post-Its. If you need to change this, you should edit the program and change the values PAGE_WIDTH=5 and PAGE_HEIGHT=3 accordingly.
    2. Run the program. At the prompt, input the location of your GIF file (this can be a filename if it is in the same directory as the Python program, or an absolute or relative filepath if it is in another directory. I have tested the 'filepath' feature in Windows only.)
      The program will:
      • determine whether the image can be evenly divided into pages of the appropriate size. If not, it "pads" the image by adding border pixels as needed, and saves an "extended" version of the original image.
      • read the GIF file's color palette, and print it on the output console.
      • display the GIF file in an output window.
      • save an enlarged version of the original file and display it in an output window.
      • create the following output files:
        • Enlarged_filename.gif - the enlarged version of the GIF. Each pixel in the original GIF is represented by an n×n square of the same color, where n is a constant ("EXPANSION_FACTOR") specified in the program.
        • Post-It_filename_uncompressed.txt - this file contains a tab-delimited set of values with one line per "page" of instructions, beginning with a the "row, column" indices of the page, and then the pixel indices in order, starting at top left and proceed through each row of the page.
          For instance, the pixels of page C-5 of the image might be:
          C 5 3 3 3 3 3 2 2 2 2 2 2 4 4 4 4
          which means page C-5 should appear as
          3 3 3 3 3
          2 2 2 2 2
          2 4 4 4 4
          where 3, 2 and 4 refer to colors #3, #2 and #4 in the color table.
        • Post-It_filename_compressed.txt - this file contains a tab-delimited set of values with one line per "page" of instructions, beginning with the "row, column" indices of the page, and then a run-length encoding of the (count, pixel) pairs in order, starting at top left and proceed through each row of the page.
          For instance, the same page in compressed format would be:
          C 5 5 3 6 2 4 4
          where the instructions say that the pixels of page C-5 consist of five 3's followed by six 2's and then four 4's.
        • Post-It_filename_composite.csv - this file contains a CSV formatted (comma separated values) data set with one line per "page" of instructions, containing first the set of pixel values in "uncompressed" format, followed by the equivalent values in "compressed" (run-length encoded) format. This is useful for mail-merging the instructions in Microsoft Word.
        • ColorMap_filename.html - this file provides the "color chart", which maps pixel indices (like "3") to colors (like "teal"). It also provides a count of the number of pixels of each color, and a total pixel count. This is important for checking that you do not have multiple instances of the same color, and planning the number of each color of Post-Its needed for the project.
        • ColorMap_filename.txt - this contains a short, text-based synopsis of the information in the HTML file with the same name.
  4. Convert the output files to pages of instructions:
    1. Using Microsoft's "Mail Merge" capability, the data can be used as a "list of recipients" for a "template file", to create individualized instructions for each "page" of the image:
      • Open the file "Post-It_Pandemonium_page_template.docx" in Microsoft Word. This 'template' file is currently attached to a 'data source' already. Word will tell you that opening the document will run a SQL command to load data from that source into the document, and ask if you want to continue. Select "No". (It's probably OK to select "Yes", because you are going to replace it anyway, but it's less hassle to select "No".)
      • The file should open and show a page of individualized instructions for the previous data source. (Shield your eyes!)
      • Select Word's "MAILINGS" tab in the menu bar. Click the "Select Recipients" item in the ribbon, and choose "Use an Existing List...".
      • A dialog box titled "Select Data Source" opens, in a directory far away. Navigate back to the directory containing the files you just created, and select "Post-It_filename_composite.csv".
      • The resulting display should show a page of instructions with variable names such as <<pixel1>> <<pixel2>>, etc. If you click "Preview Results" in the ribbon, the actual first line of data will appear in place of the variable names. In a box next to the "Preview Results" item, the number "1" should show, which indicates this is the first line of data. Scrolling down should show that this is Page A-1. Clicking the arrows next to the box will allow you to view the results of each page in the data file.
    2. "Merge" the data into a new file of individual pages of instructions:
      • Click the "Finish & Merge" item in the ribbon.
      • Select "Edit Individual Documents..."
      • A dialog box appears. Select "All", and click "OK".
      • Save the resulting file as a PDF document.
  5. Print the instruction pages:
    These instructions are formatted in Landscape mode, but are designed to be printed two to a page (half-sized). This means that they will be printed on pages in Portrait mode, one above the other, but each of these pages is formatted in Landscape Mode. You may think this is confusing, but so does Microsoft Word! Fortunately, Adobe Acrobat is able to handle these instructions.
    1. As shown in the image below, the options to select are 2 Pages per sheet, Print in Horizontal order, Landscape Orientation.
    2. On the backs of the sheet, print a grid page that shows where the Post-Its belong. Here is a PDF of the page I use. This is important because the Post-Its need to extend beyond the edges of the paper (see below):
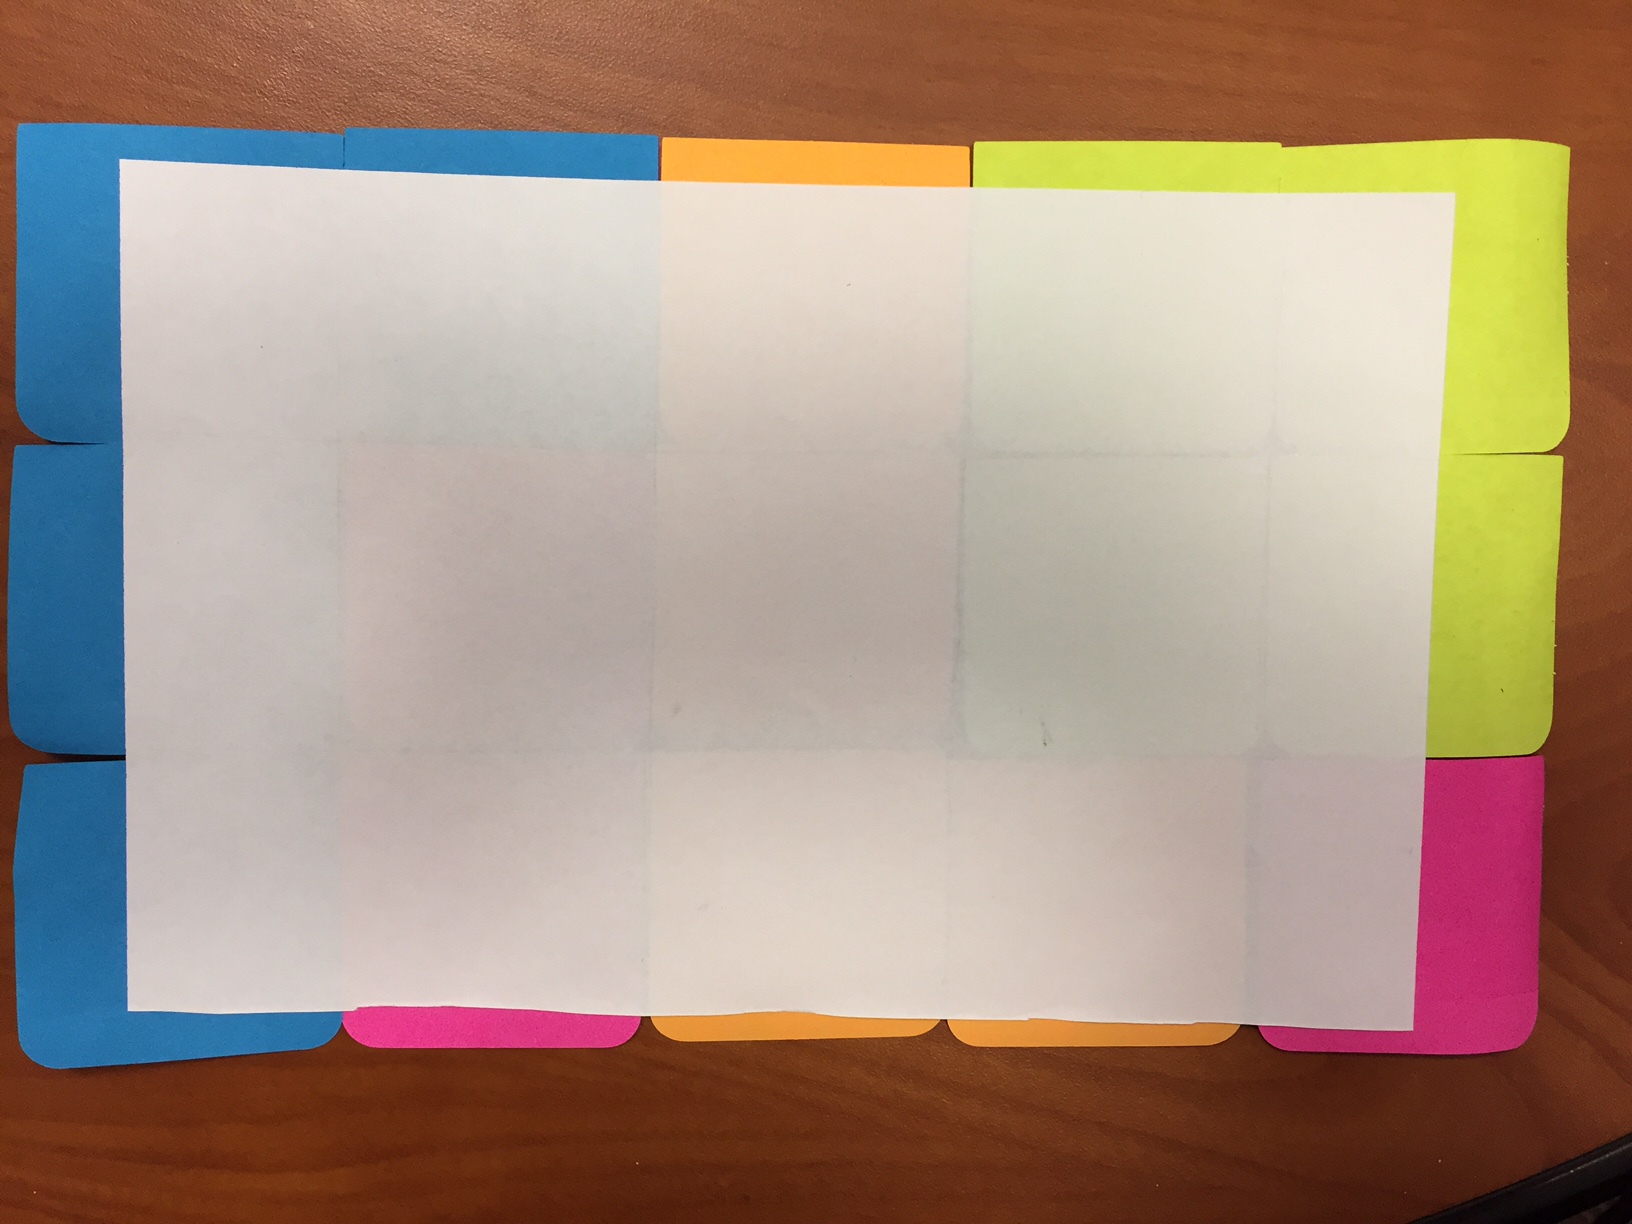
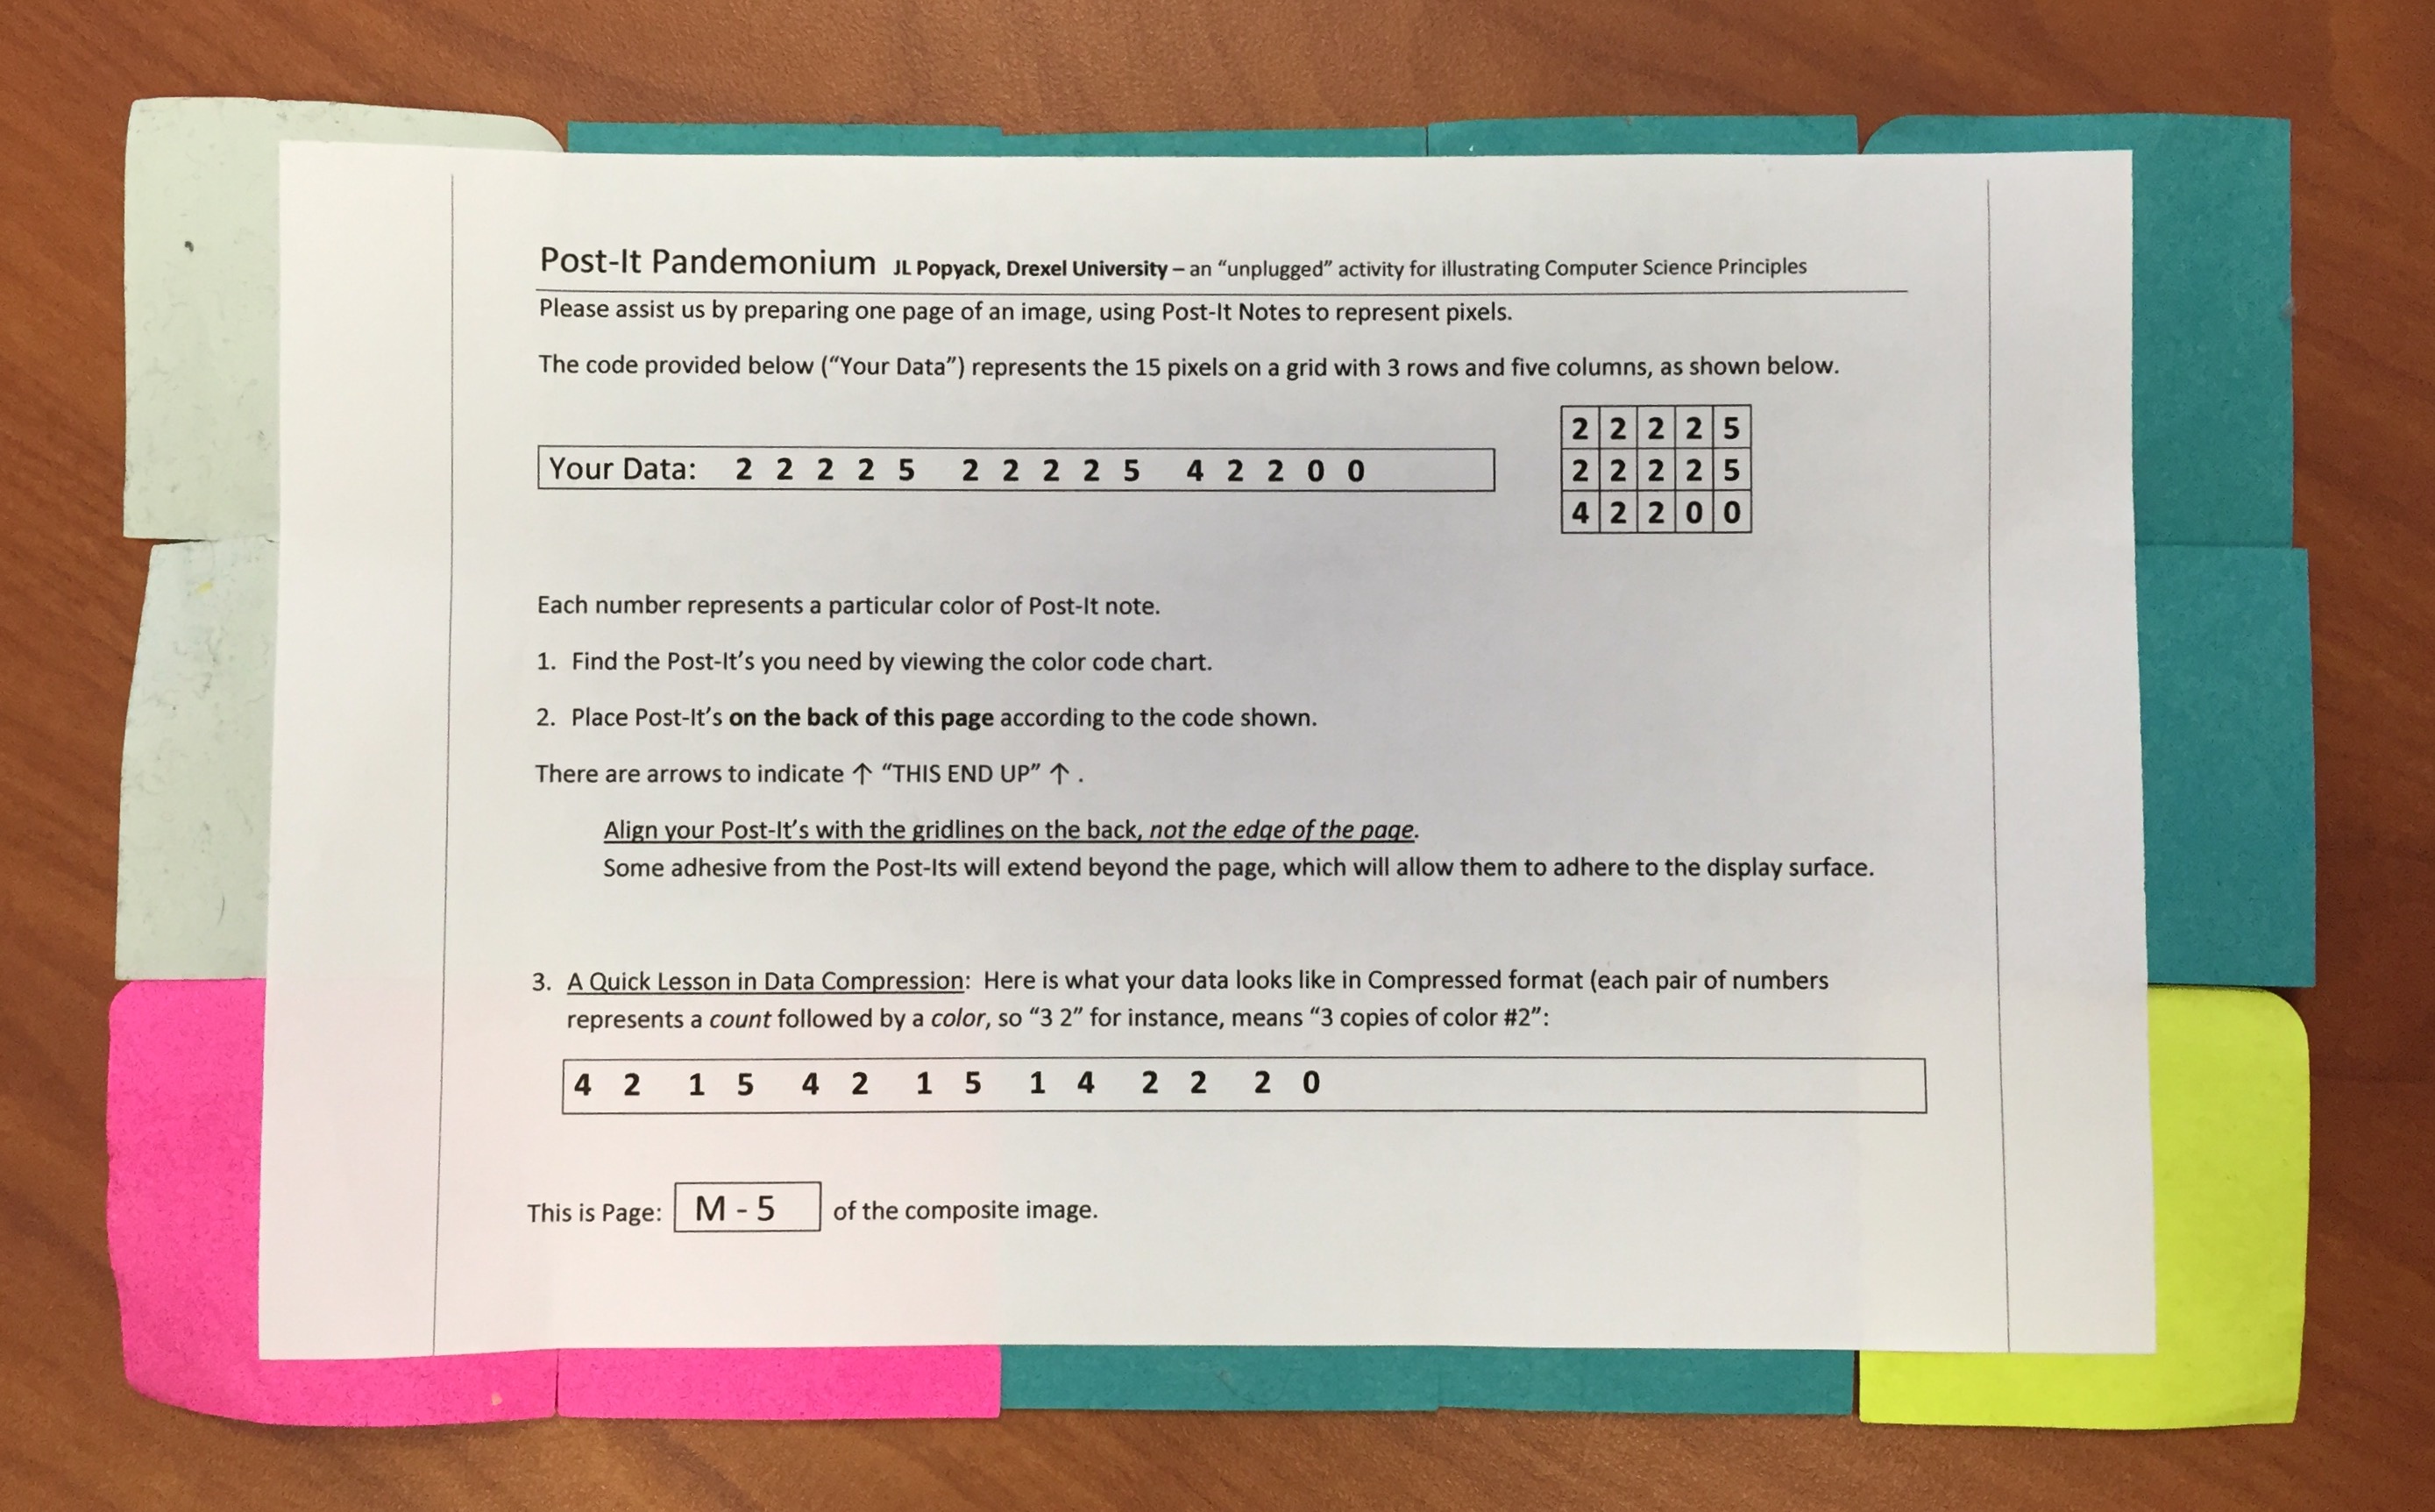
    3. Once the pages have been printed, they need to be cut in half so that each set of instructions is on its own half-page. Note that it will not be necessary to have the pages cut perfectly, because the Post-Its will extend beyond the edges anyway, as shown in the picture below. The reasons for this are:
      • The half-sheet measures 8-1/2" wide by 5-1/2" high.
      • The Post-It's are 2" square, and so they measure 10" wide by 6" high.
      • The Post-It's have adhesive on the backs, and so the exposed area is sufficient to allow it to adhere to the poster.

      • Note: as assembled in the first image shown above, the Post-Its are well-placed, but not ideal. The reason is that the Post-Its themselves are "full adhesive", but this means that there is adhesive everywhere except the bottom (curved) edge, so that the Post-Its can be peeled off easily. As a result, it is better to assemble the Post-Its with the curved edges facing inward wherever possible, as in the second image, so that the maximum amount of adhesive extends beyond the paper edges.
  6. Assembling the Poster:
    1. It is best to have pre-assembled a poster board or sheet the size of the image to be created, with gridlines that show the placement for the completed individual sheets. If not, however, a section of wall can be used and the pages can be assembled in order. The adhesive should form a strong enough bond for the pages to remain in place for a good amount of time.
      NOTE: the columns are letters A, B, ... and the rows are 1, 2... from top to bottom. Thus, the leftmost column has A-1 at the top, A-2 below it, etc., and the next column has B-1, B-2, ... If you do not follow this numbering scheme, the image will not be recognizable, because the page numbers will be transposed, but the pages themselves will not.
    2. A few notes about mistakes commonly made by people assembling their individual pages:
      • Misreading the color chart and putting the wrong-colored pixels in place.
      • Mistaking grey Post-Its for white, and vice-versa.
      • Trying to fit all the Post-Its on the paper, without anything extending beyond the paper edges. This usually is done by overlapping the Post-Its.
      • Applying the page onto the poster upside down.

Example:

Command Prompt
> python Post-It_Posterizer.py
Name of file to convert? RobotSpringboard/RobotSpringboard_2016.gif   
Image Format:  GIF ; Image mode:  P Original image size:  (30, 30)

Usable size:  (30, 30)
filepath=RobotSpringboard/, filename=RobotSpringboard_2016.gif
#Bytes:  900
Data length:  900
Processing  RobotSpringboard_2016.gif
Palette Length:  256

Colors:
0 :  [235, 47, 131]
1 :  [42, 127, 192]
2 :  [59, 148, 146]
3 :  [252, 153, 52]
4 :  [199, 227, 80]
5 :  [239, 249, 243]
6 :  [255, 255, 255]
7 :  [255, 255, 255]
8 :  [8, 8, 8]
9 :  [9, 9, 9]
  ... 
253 :  [253, 253, 253]
254 :  [254, 254, 254]
255 :  [255, 255, 255]
Total pages:  (6, 10)  =  60  pages
DONE!
    

Files produced:

Instruction sheet for participants:

This sheet has proved helpful when used outside of a closed classroom/lab situation.

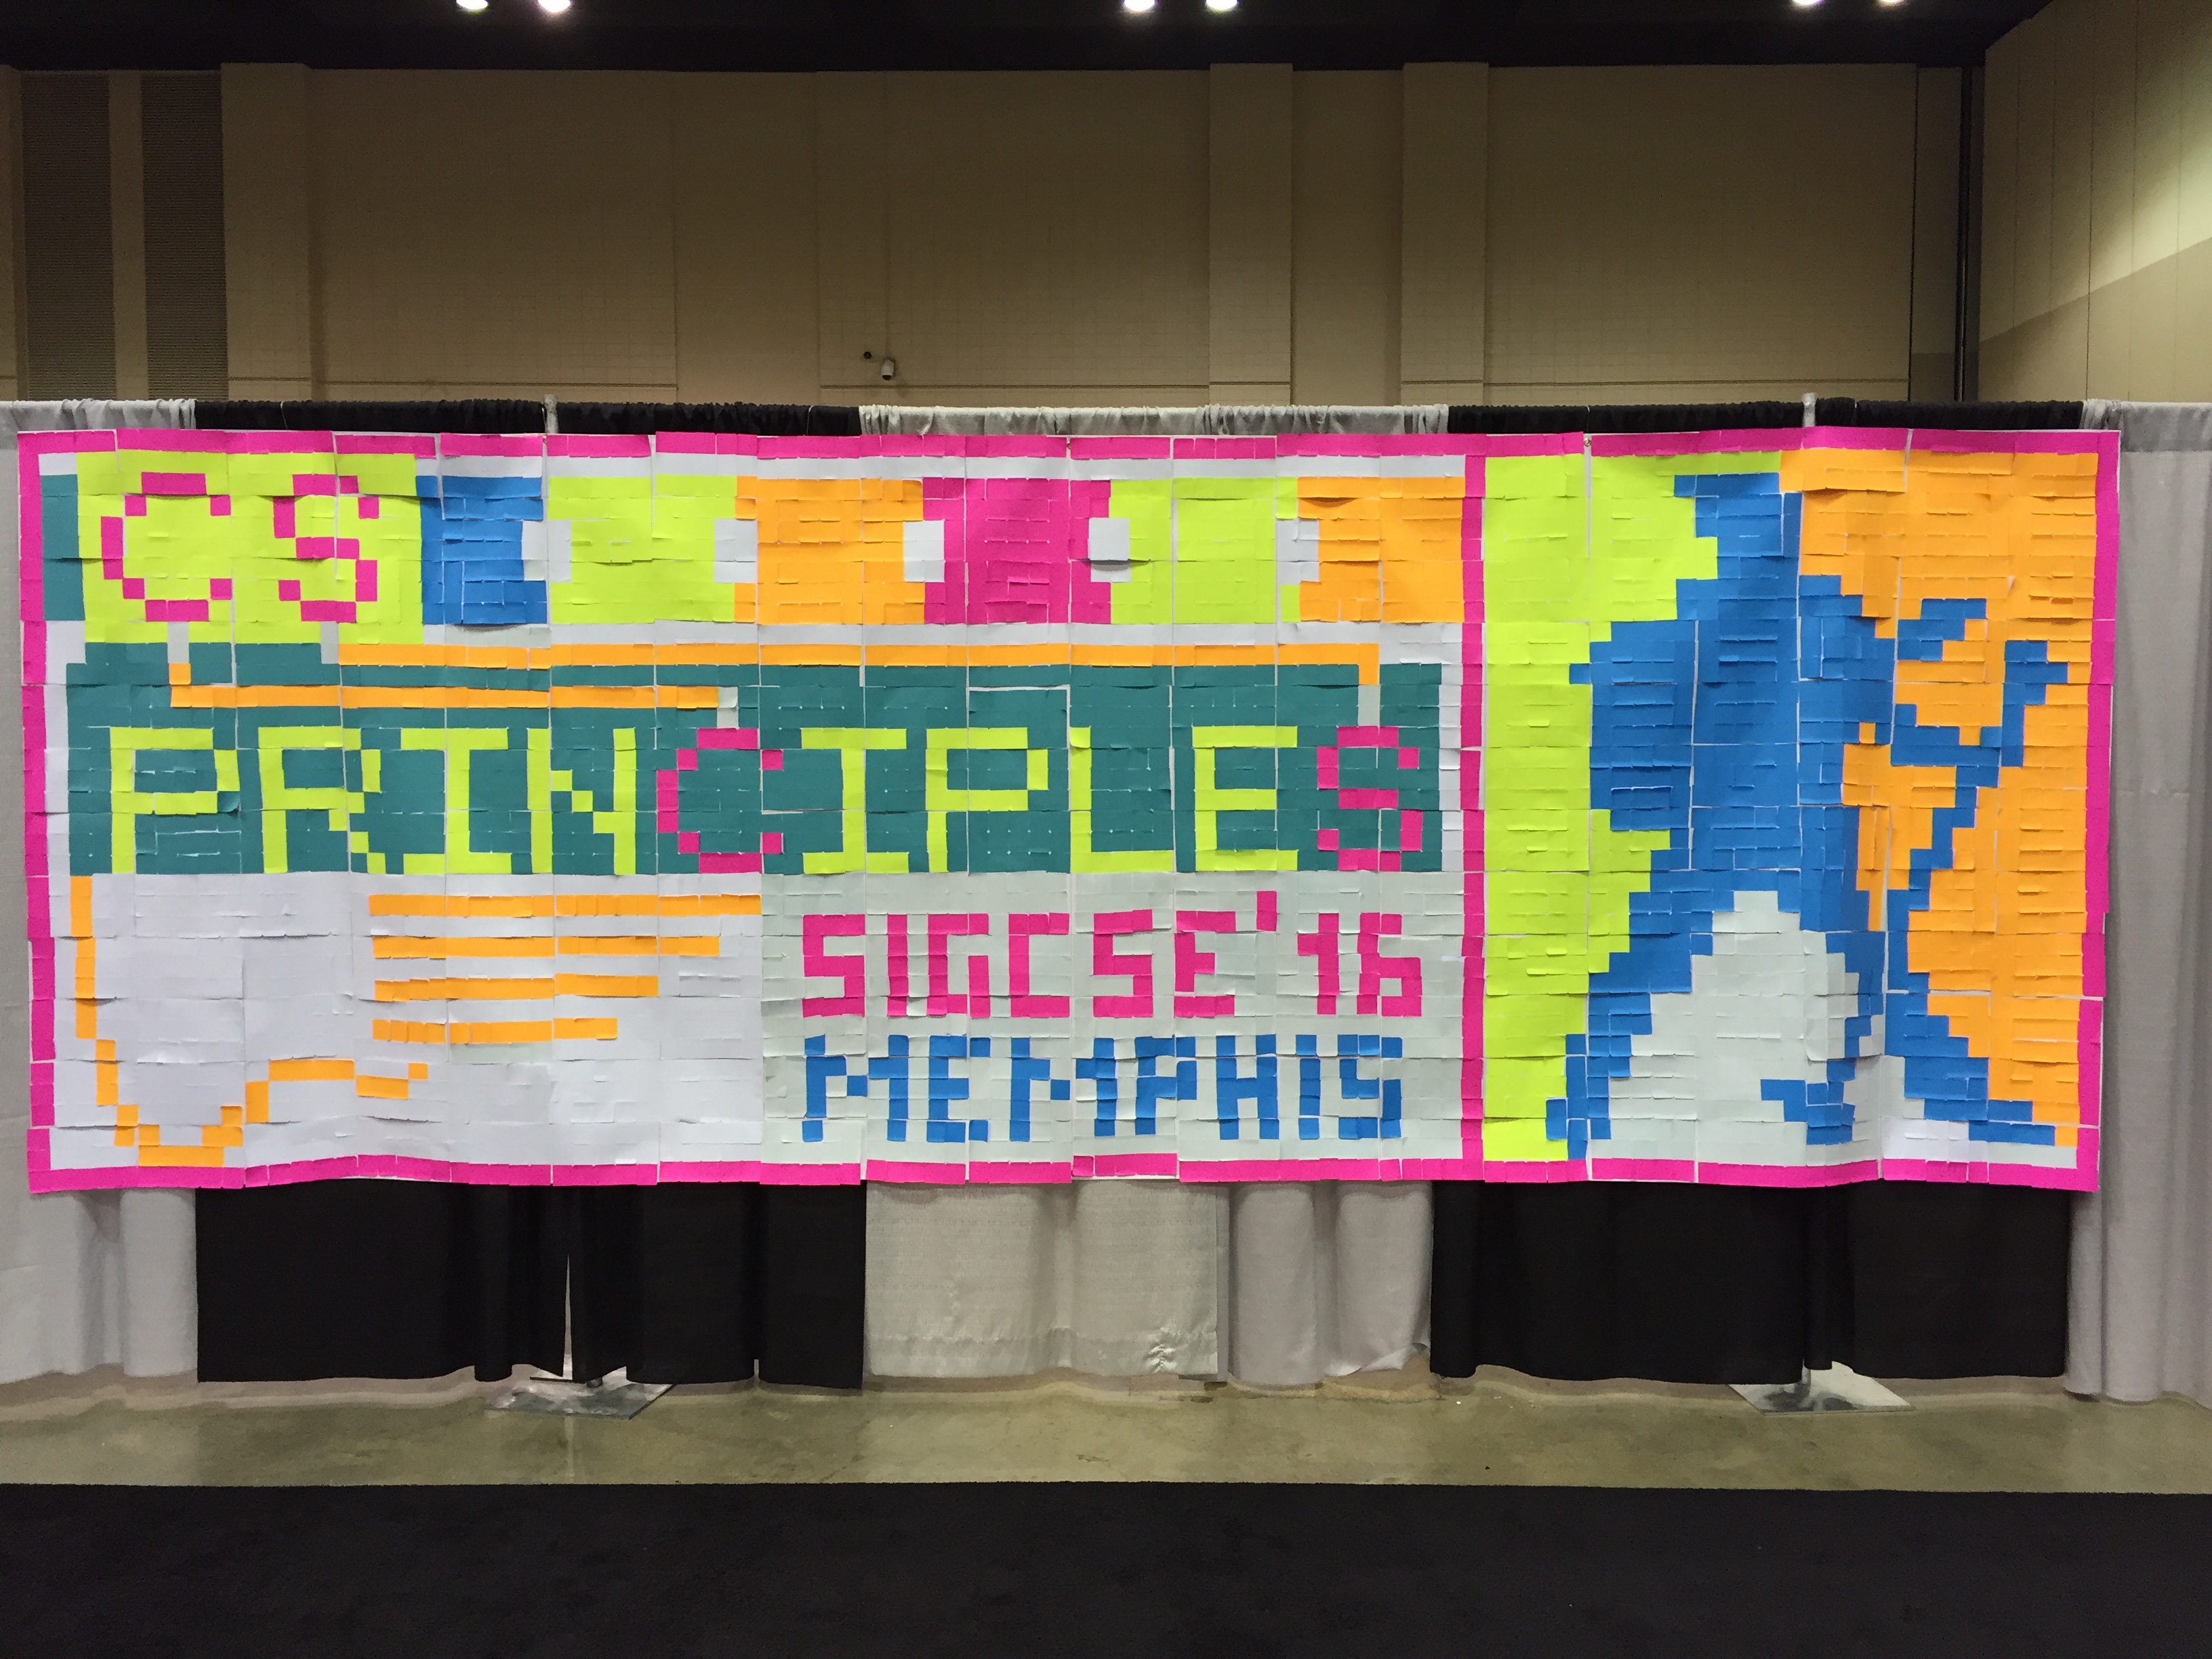
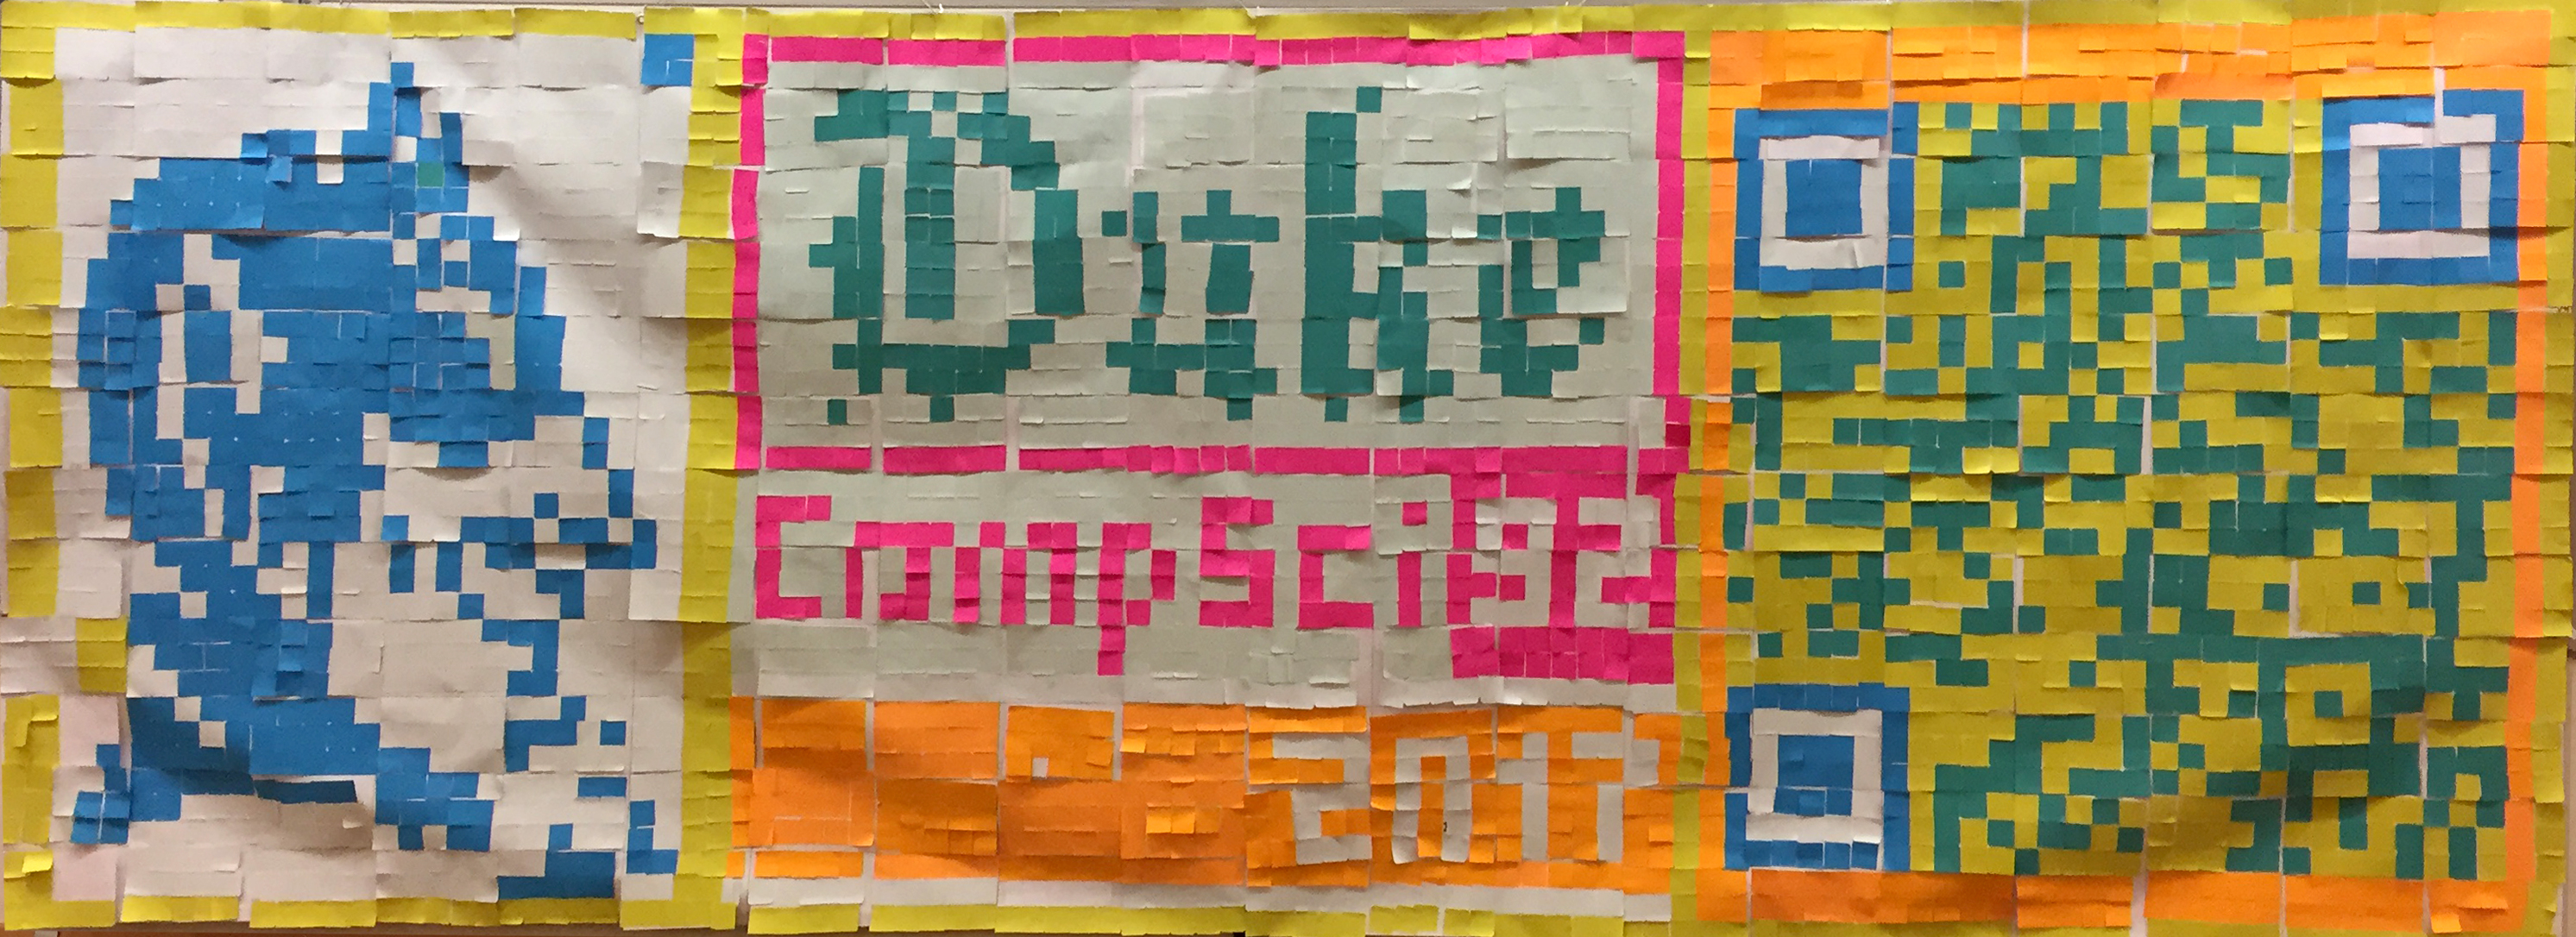
GALLERY:

RobotSpringboard logo with Post-Its


Hopefully these instructions have been helpful. Please let me know if there is need for corrections, better explanations, or other modifications.

Best wishes,

Jeffrey L. Popyack, Popyack@Drexel.edu